Landscape Lighting Design and Installation
In this video, I walk you through the entire process, end-to-end, that I used to install landscape lighting in my backyard, from planning to installation.
I am not a landscape designer or an electrician, but this process is easy, safe and affordable for the average homeowner and I show you everything you need to know to complete your first lighting project, and to inspire you even if you already have some experience.
This video was sponsored by TotalOutdoorLighting.com.
LANDSCAPE LIGHTING BASICS
Before I get started with my design, let's start with some basics. I'll be using two general types of landscape lights on this project:
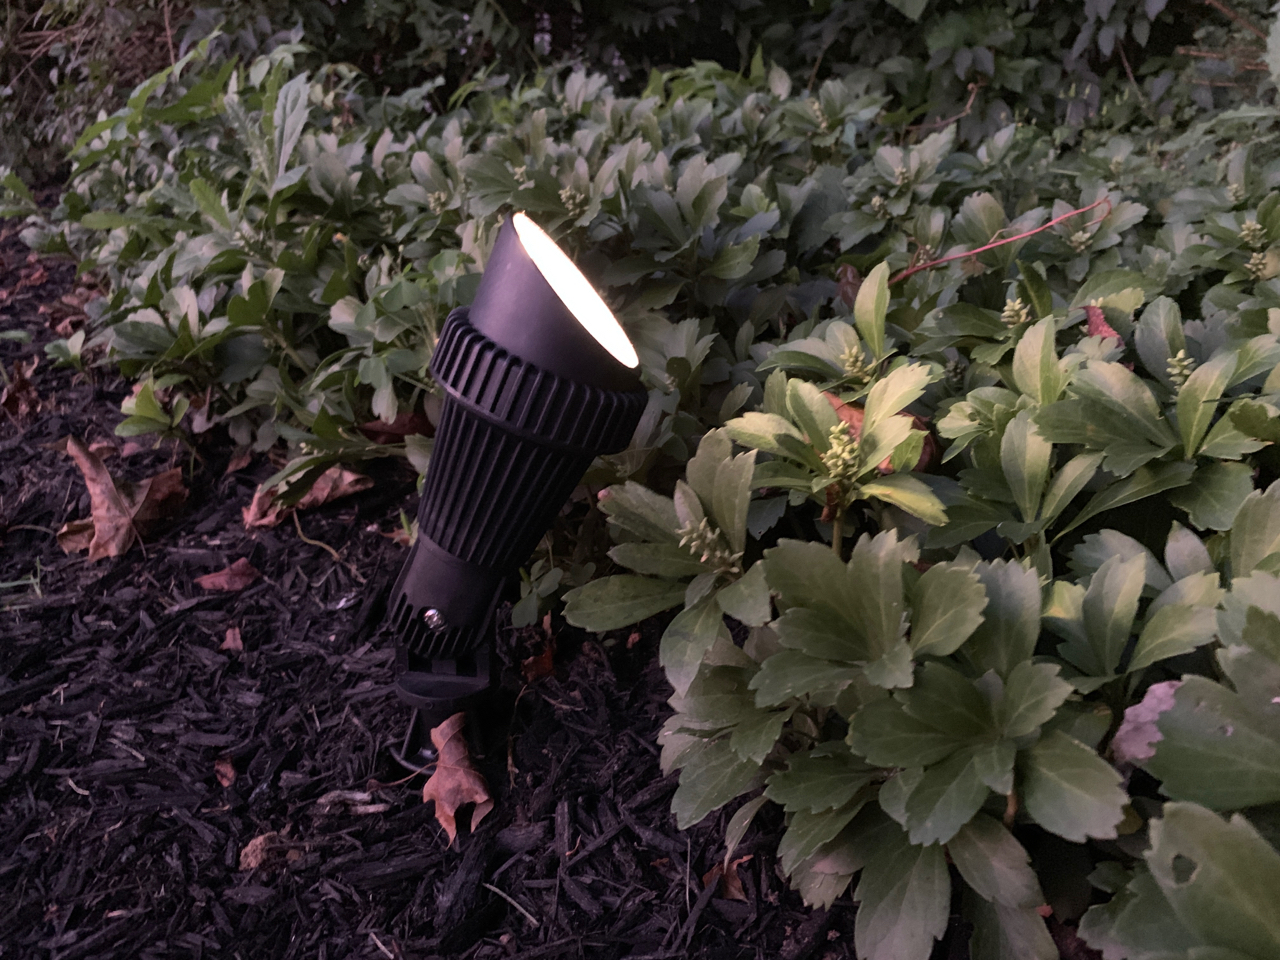
The first type is what I call up lights – they are spotlights or floodlights installed close to the ground pointing UP to highlight large plants or architectural elements of your home from below.
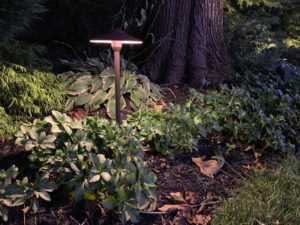
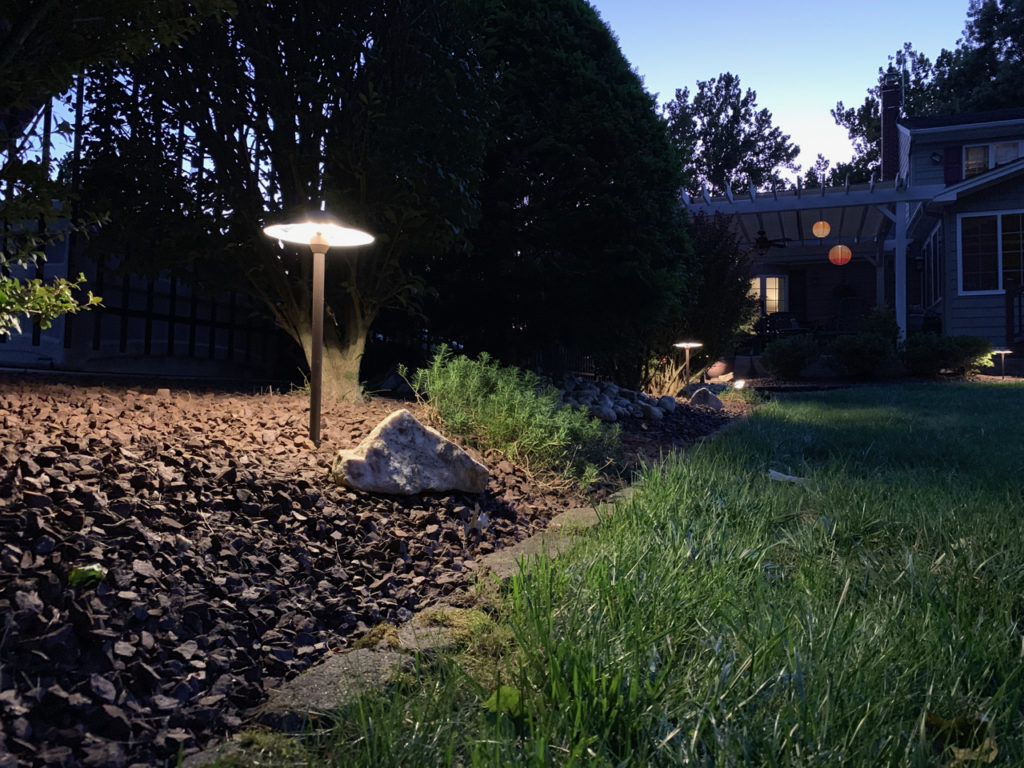
The second type is path lights – they are higher off the ground, but they project their light downward to light walkways and low plants.

All these lights are low voltage, 12 volts to be exact, so the wire can simply be buried under mulch or stone and there is no risk of getting shocked working with the power on.
So the first component of any landscape lighting system is a transformer, which converts household current to a safe 12 volts, and typically comes with a timer to turn the lights on and off. More about that later.
LANDSCAPE LIGHTING DESIGN
The first step in the design process was to take pictures of the gardens I wanted to light. I wasn't making a formal landscape plan; no fancy software. For me, the pictures were good enough to objectively see what features I wanted to highlight with lighting.

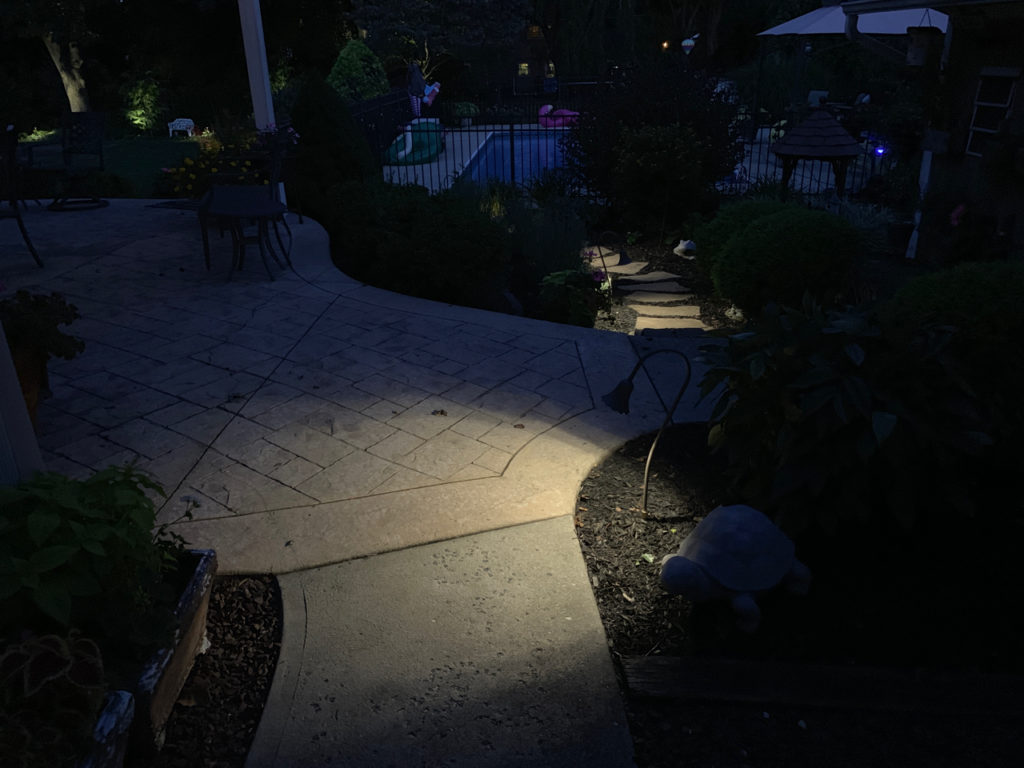
Stone garden by the pool 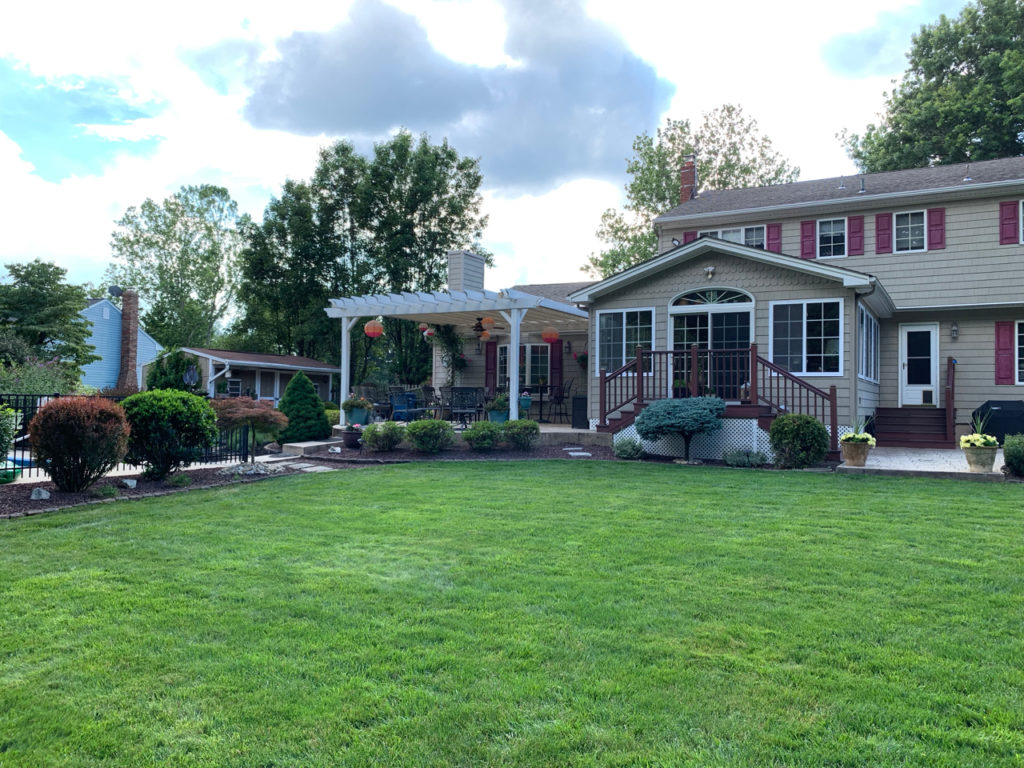
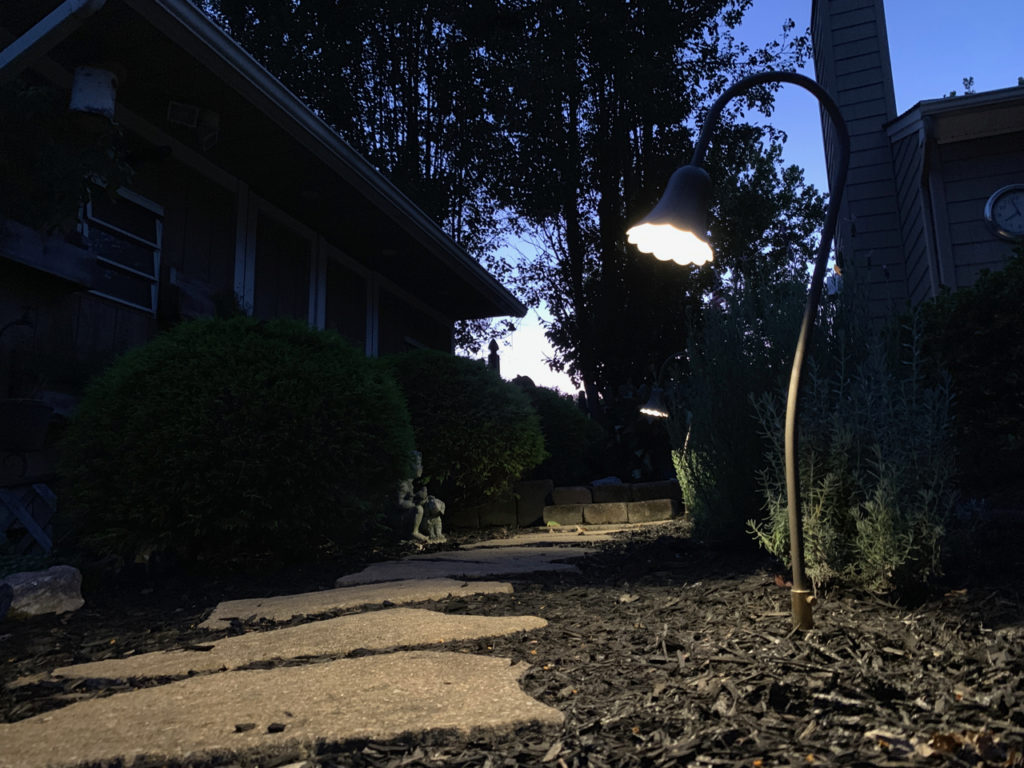
Stone garden by the house 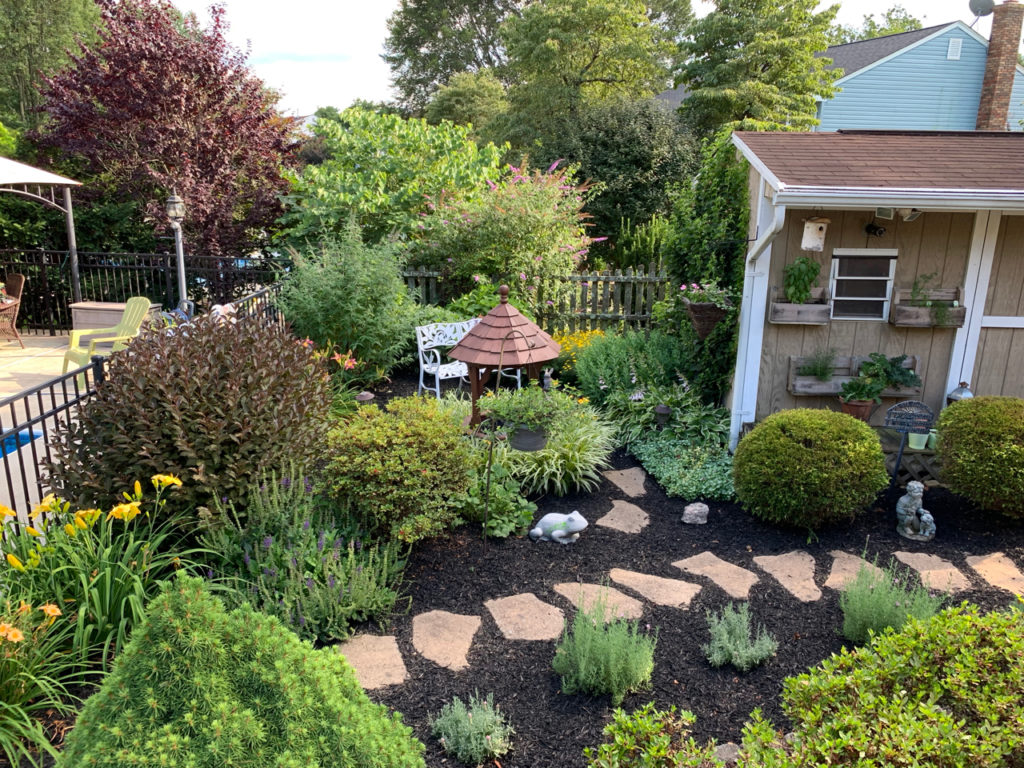
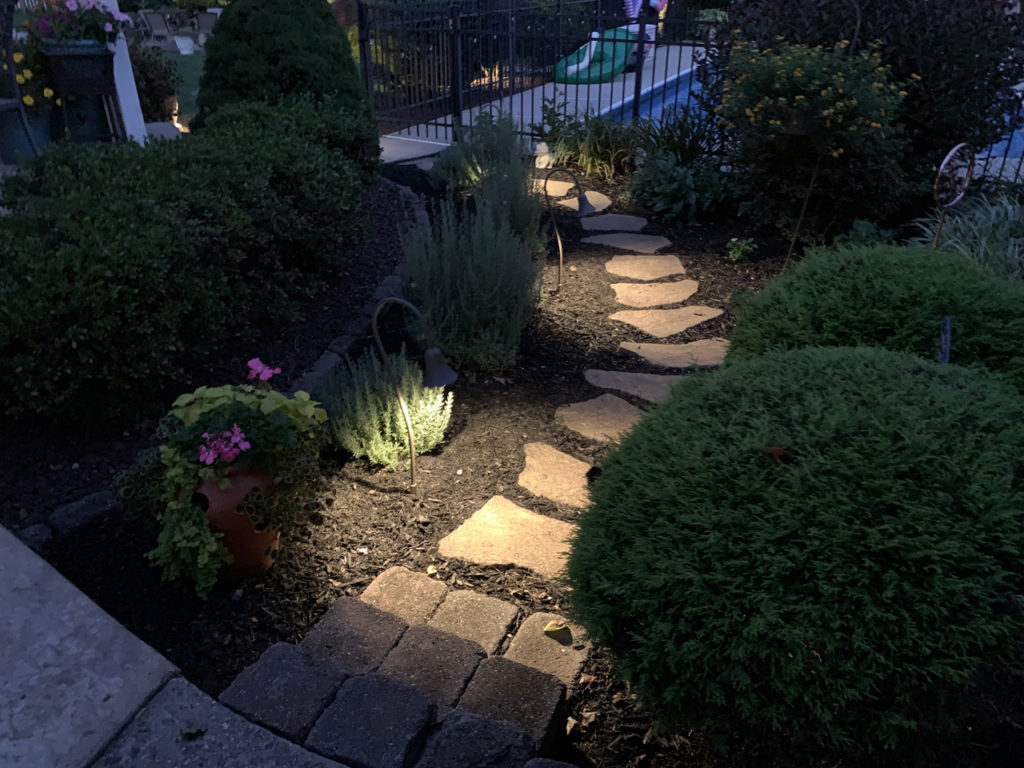
My wife's flower garden 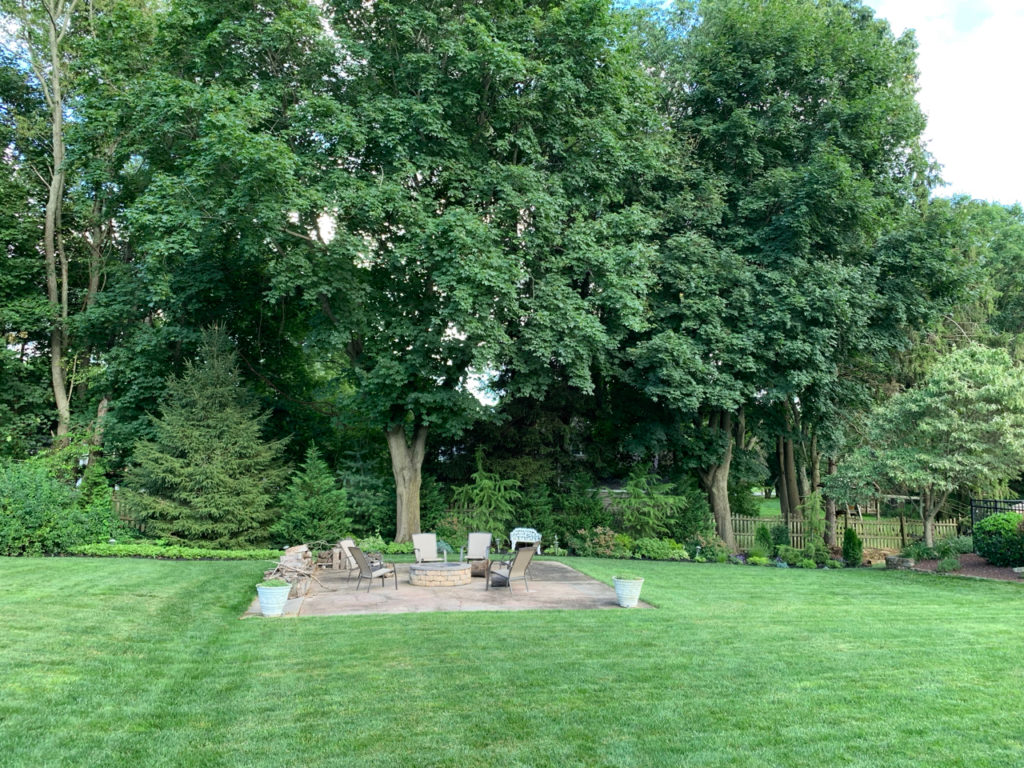
The back garden
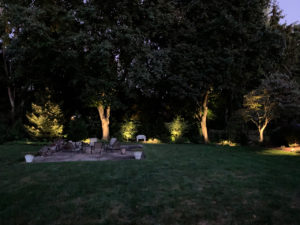
In the back garden (the picture with the firepit), the first things that stood out to me were the two big maple trees. I lit them with spotlights to accentuate the texture of those tree trunks. I also love the openness of the two cedar trees so I lit them with spotlights as well. I added a few path lights in the back to fill some of the empty spaces.
The dogwood tree on the right already had an existing up light that had been there for years. It wasn't as bright as the new ones, so I replaced it. At that point, the yard looked out of balance so I added two more spotlights on the Christmas tree in the left corner. That created a nice, symmetrical view:
For the “stone gardens” around the pool and patio, I five more path lights to outline the separation between the stone and the lawn.

I also installed four path lights in my wife’s flower garden. To make them more unique, we chose lights that looked like flowers.
PROTOTYPE THE DESIGN
Before committing to this design, I first tested them at night using a 9-volt battery. Although the lights were designed for 12 volts, the LED bulbs lit up with 9V, just not full brightness. This gave me a sense of the coverage and spacing.
Next, I ran an extension cord out to the back garden and temporarily installed different kinds of lights gently in the ground using cut sections of wire at this point. I just twisted them together; no connectors at this point.
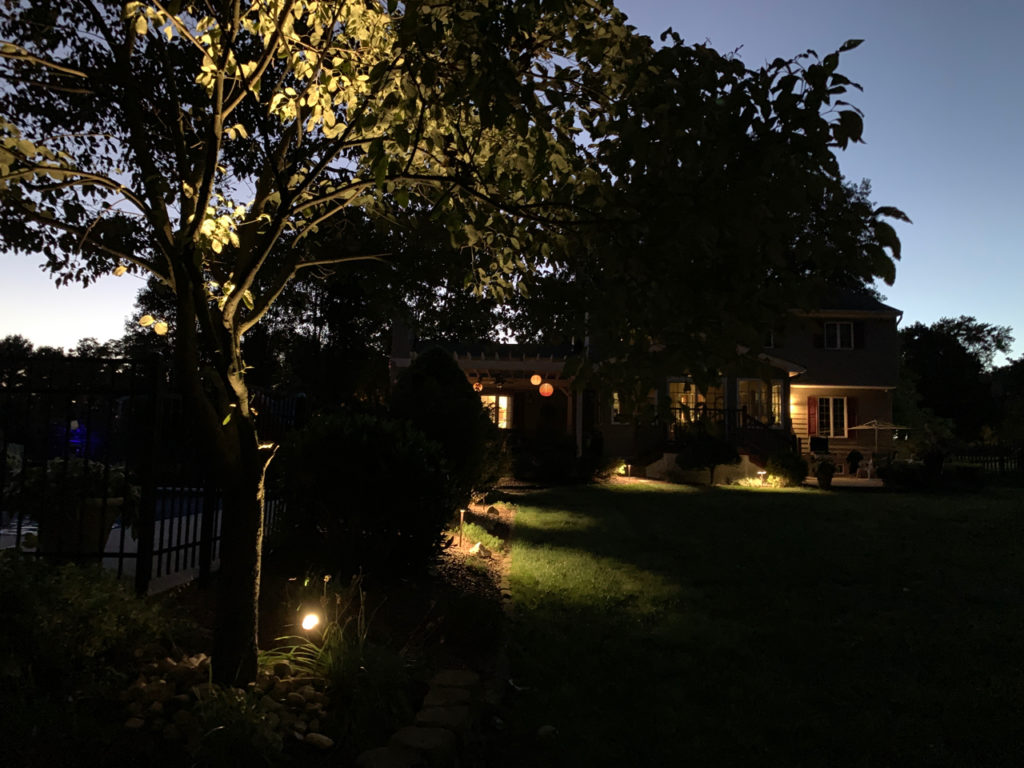
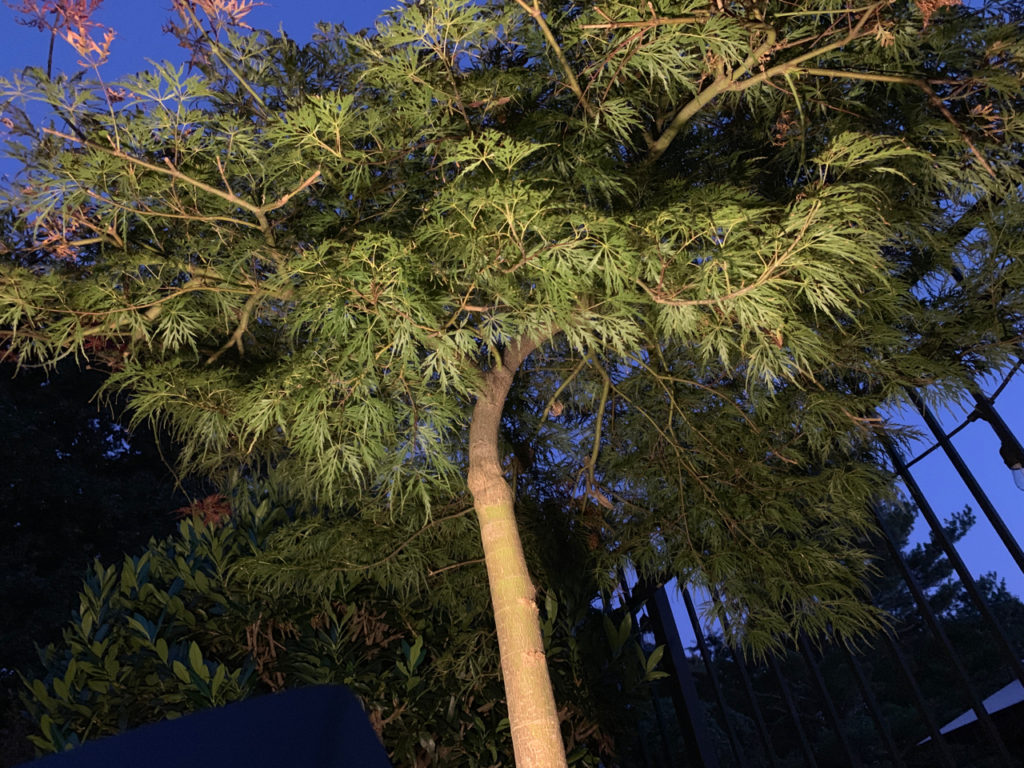
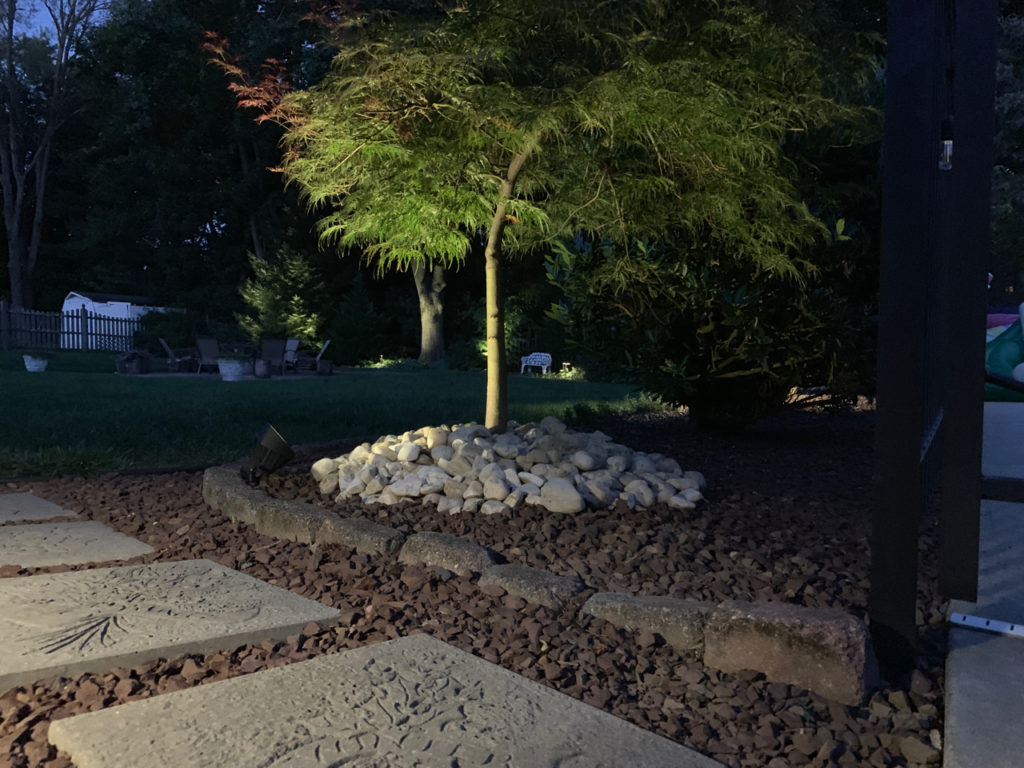
At this stage, I decided to add a light on the Japanese maple tree. A spotlight would have been too bright and narrow on this type of plant so I used a flood, or “wash”, light. It matched the same warm white color and provided a perfect amount of light for that tree.

LANDSCAPE LIGHTING INSTALLATION
After I was sure I had the right amount of lights in the right placement, I converted my prototype to a permanent installation.
I started by installing a 100W transformer with a 24-hour clock and a built-in photocell. I set the timer to turn on at 2pm and off at 11:30, but the photocell will only turn on the lights when it gets dark. So I won't need to adjust it as the days get shorter in the winter.
I already had previous lighting in the “stone gardens” so I reused that wiring, but I ran a new branch feeder from the dogwood tree to the back garden. The blue displacement connectors in my kit made it easy to splice wires without cutting them, and they silicone gel in them to prevent the connections from corroding.
I buried the wire in a 6-foot section of lawn using a spade shovel. The wire needed to be deep enough, 4 to 6 inches, to prevent it from getting cut when aerating the lawn. But no conduit was needed.
Although these light fixtures are strong and durable, they're not made to be jammed into the ground. So I used a short piece of conduit, flattened on one end, to create a pilot hole before pushing the fixture into the ground. If I hit roots or big rocks, I moved a little to the right or left.
We only have landscape lighting in our backyard because, although curb appeal is important to us, we value patio appeal even more. We love sitting outside as the sun goes down and the garden lights up.
Two spotlights on this big tree 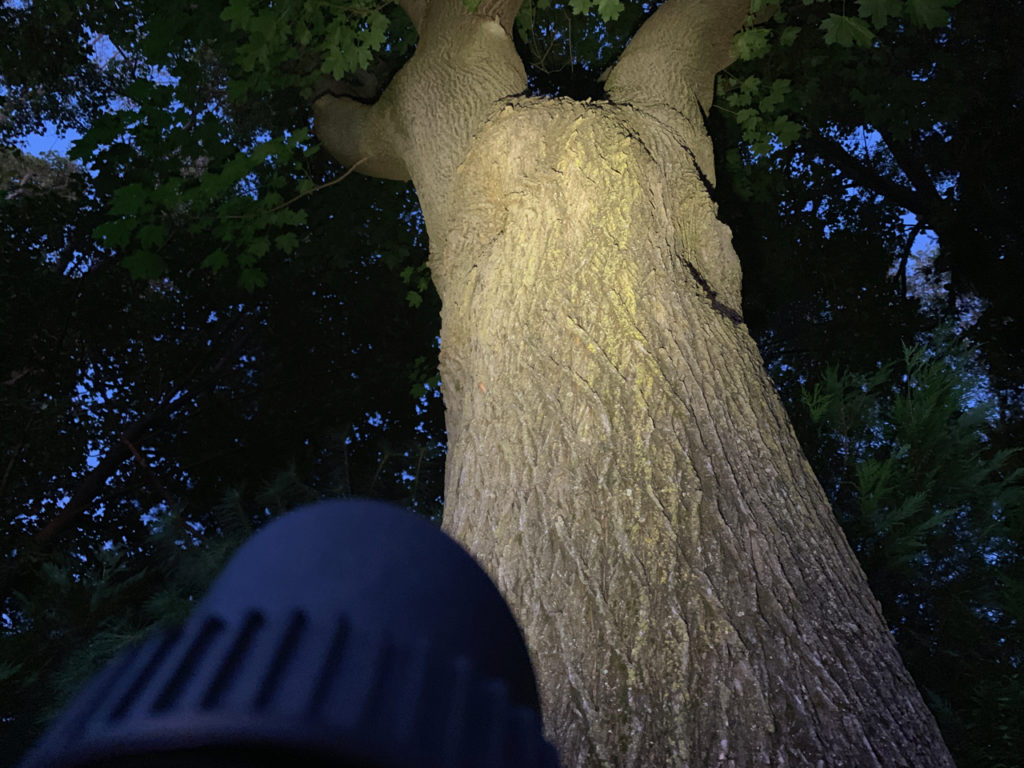
Spotlight on a tree trunk 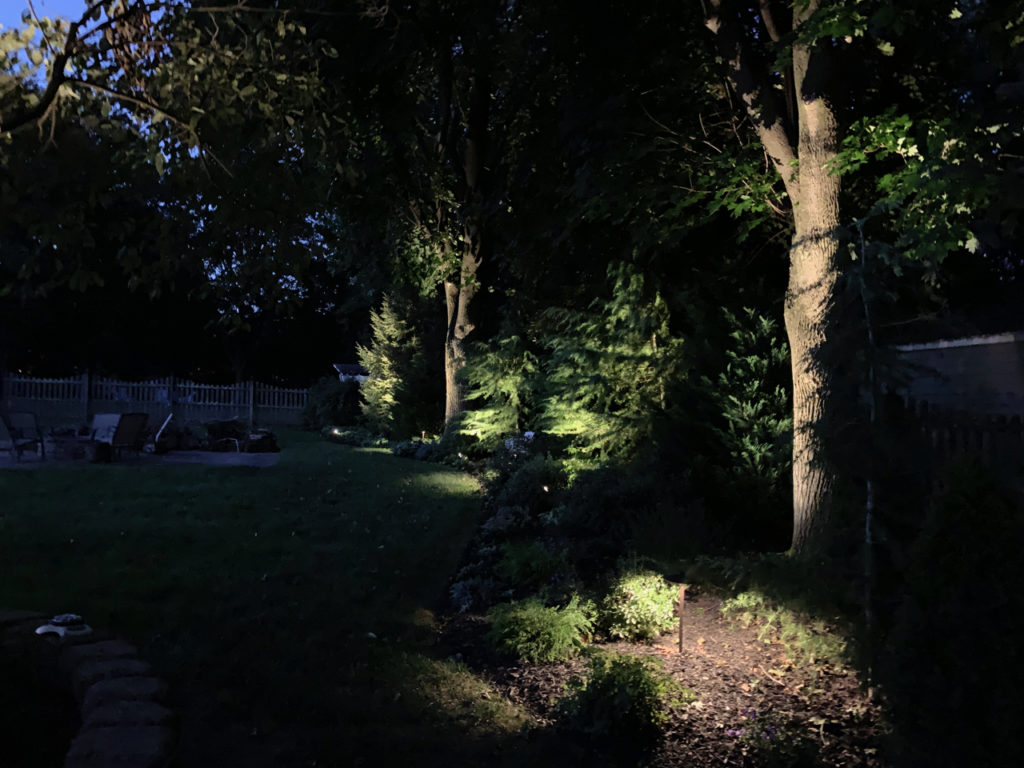
The back garden 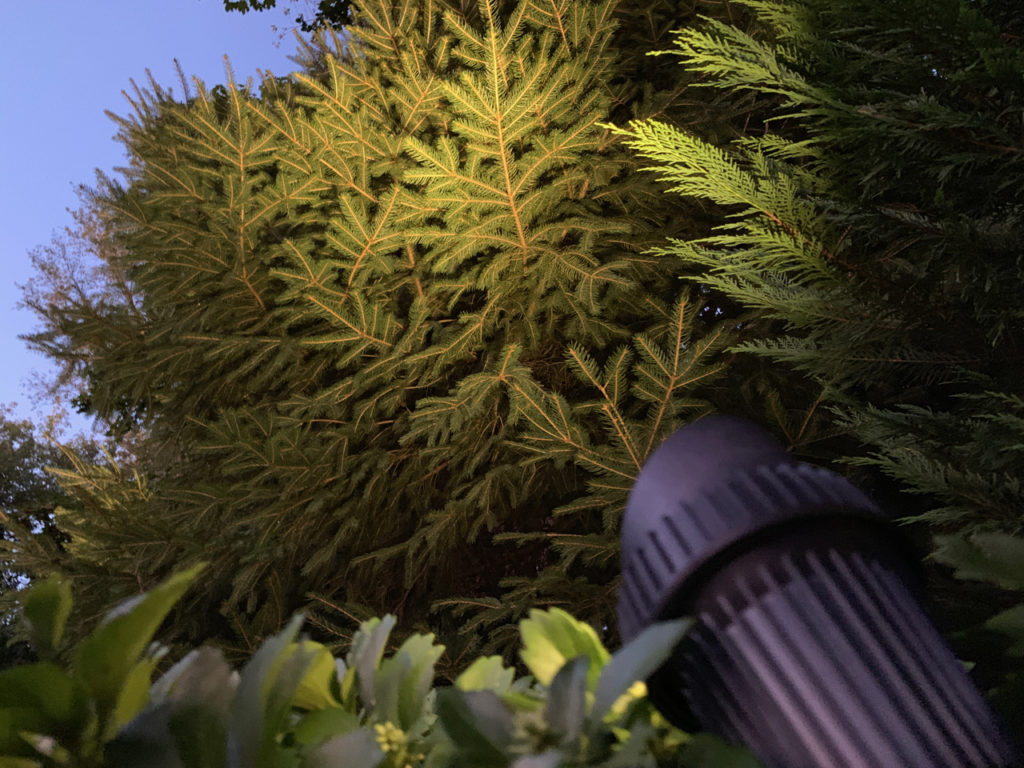
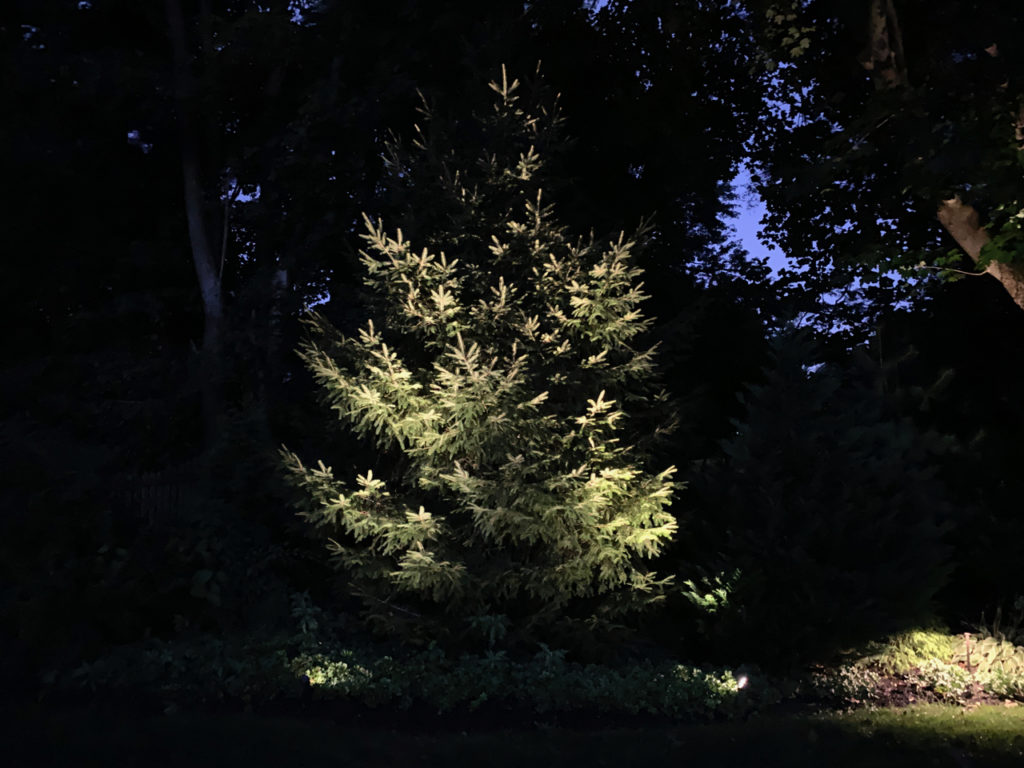
Just light the tips of a fir tree 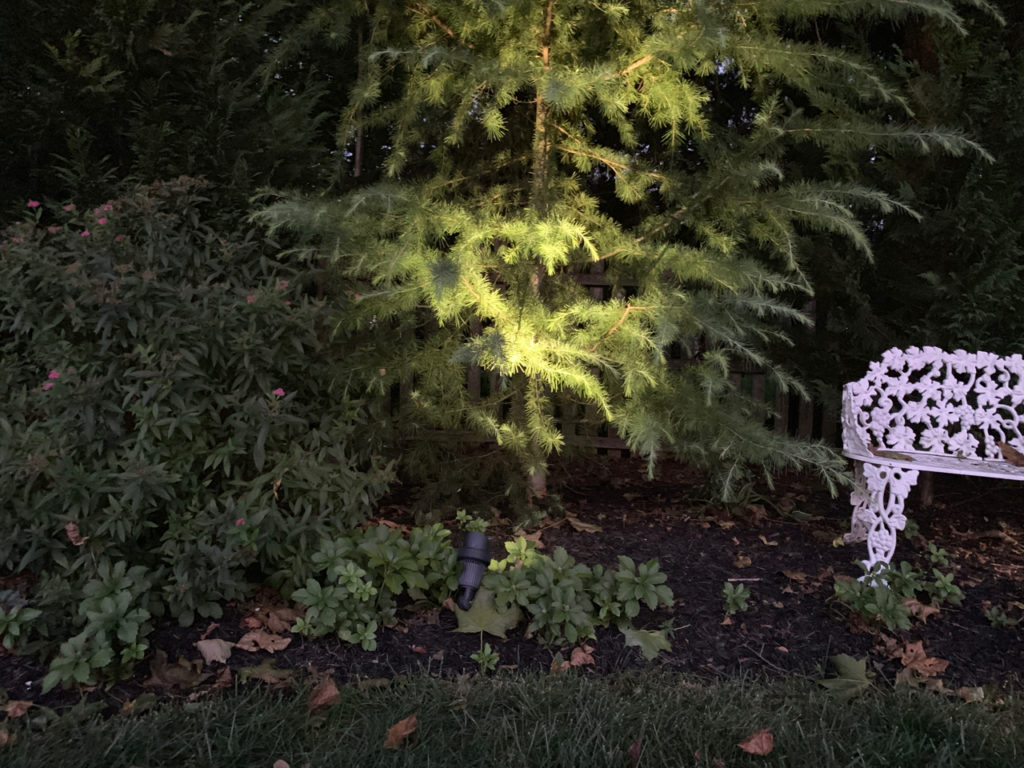
Cedar trees are light and airy 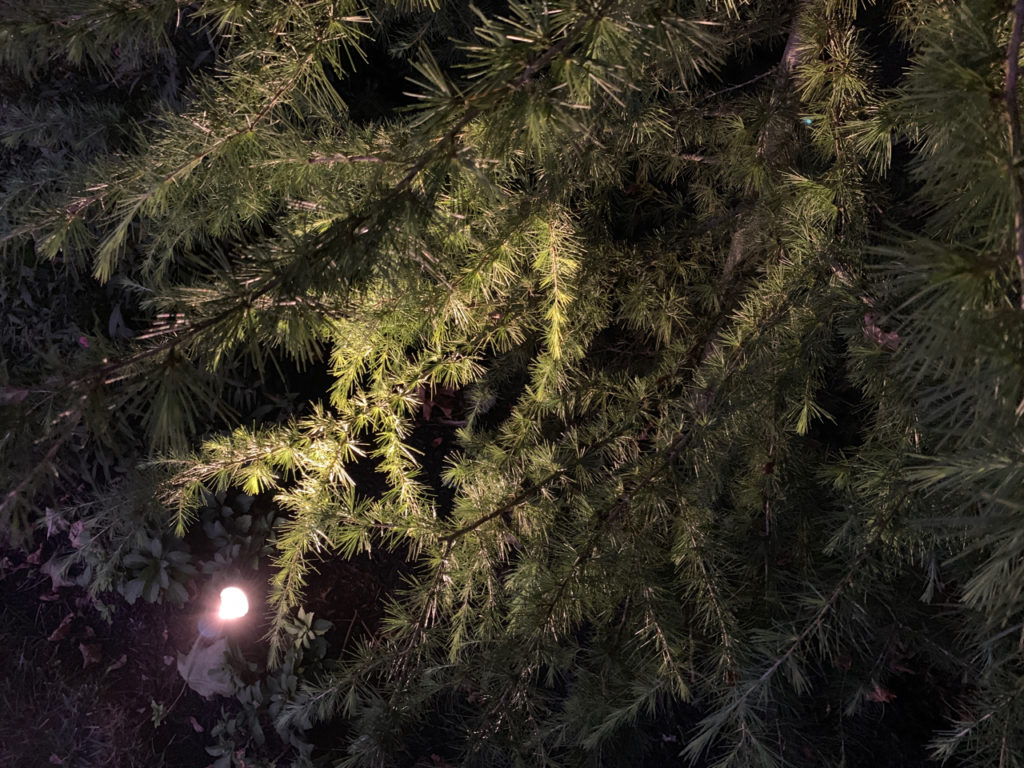
Spotlight on a cedar tree
All these lights were purchased at TotalOutdoorLighting.com. Here are the part numbers I used:
- Spot Lights (black): LED-FG1021-BK
- Path Lights (rust): LED-S215-RU
- Flower Path Lights (bronze): LED-S220-BR
- Flood Light (black): LED-6011-BK
- 100W Transformer: EPC100W


For the path way light what is the diameter of the top umbrella light cover and what is the length if the stem?
According to the website: 8-1/4″ diameter top, 29″ overall height.