Easy Shiplap Backsplash using Wallplanks
Thanks to Joanna Gaines, co-host of the HGTV show Fixer Upper, shiplap has become quite a fad. Technically speaking, shiplap is nothing more than pine planks with rabbet joints on each edge so they overlap when installed.
Shiplap was designed as an exterior siding because it provides a relatively tight seal and requires no underlayment. Open the interior wall and the backside of the shiplap becomes visible on the inside of the room. That's the rustic look that Joanna Gaines popularized.
When used for interior decor, shiplap has its challenges. It is thick, expensive and time-consuming to install. In addition, the horizontal gaps tend to gather dust. Perhaps the dust adds to the rustic charm.
Cutting down trees purely for decoration isn't very environmentally responsible. That's where Wallplanks makes a lot of sense.
Wallplanks : instant shiplap
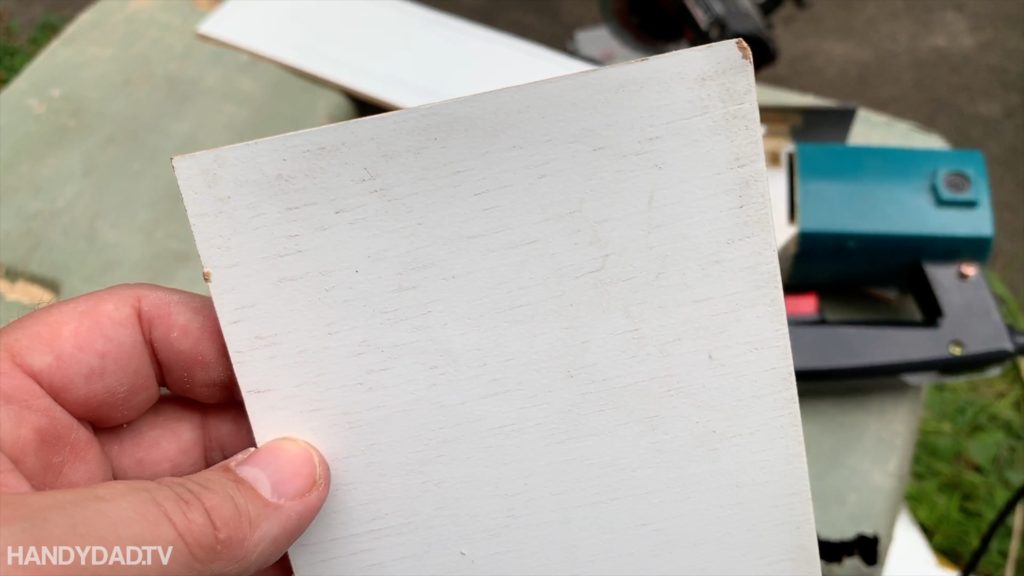
Wallplanks is a laminated wood product that is prefinished for instant results. It comes in a variety of paint effects and stains. The finish used in my installation was called Alabaster.
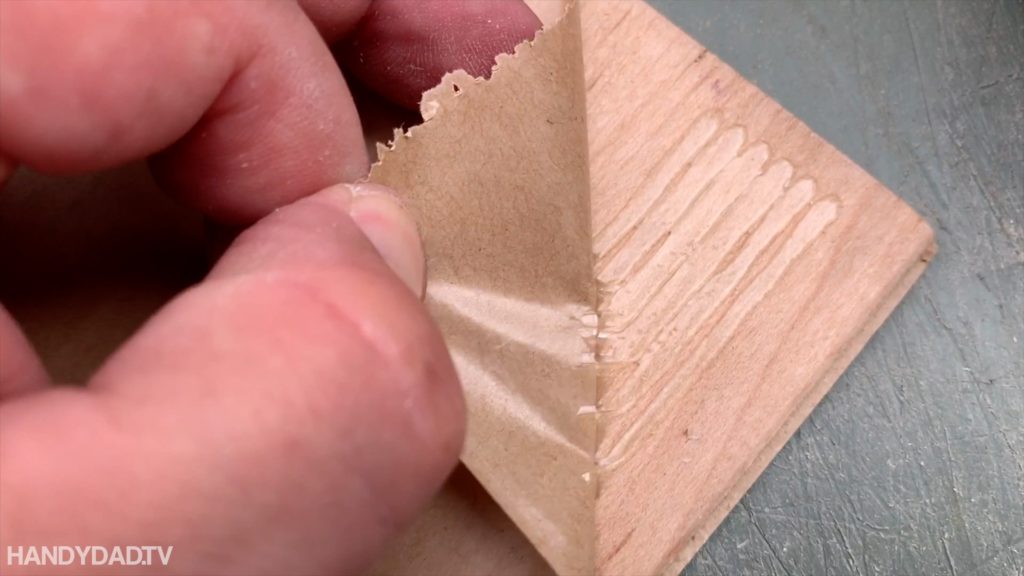
The best thing about this product is the easy installation. It is peel-and-stick, but not cheap like peel-and-stick tile. The back of every Wallplanks is covered by thick rows of very sticky glue. The rigidity of the planks keeps them flat even if your wall isn't. As long as the walls have a solid surface, Wallplanks will stick.
Cutting Wallplanks
Wallplanks are easy to cut using a miter saw for cross cuts, or a jigsaw for rip cuts and obstructions. My son didn't have a workbench or sawhorses, so we improvised with two garbage cans.
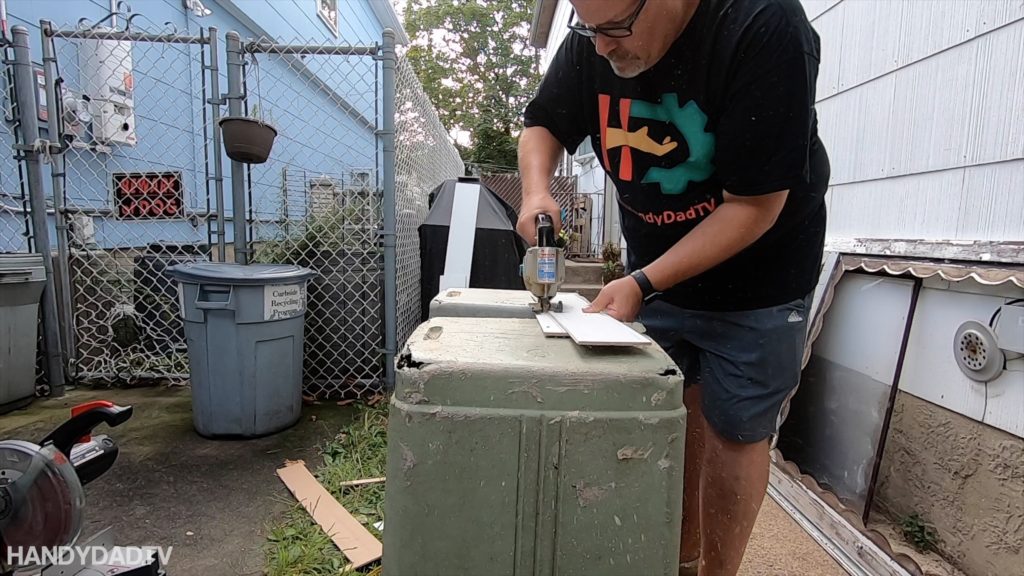
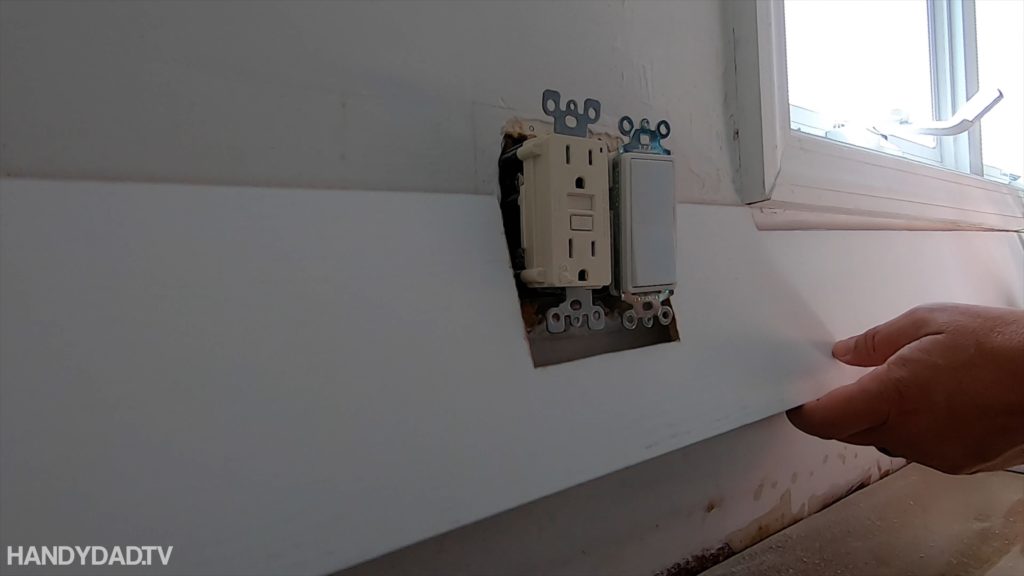
I used the jigsaw to cut the planks around the outlets and window. I test-fit every piece before removing the protective paper from the glue.
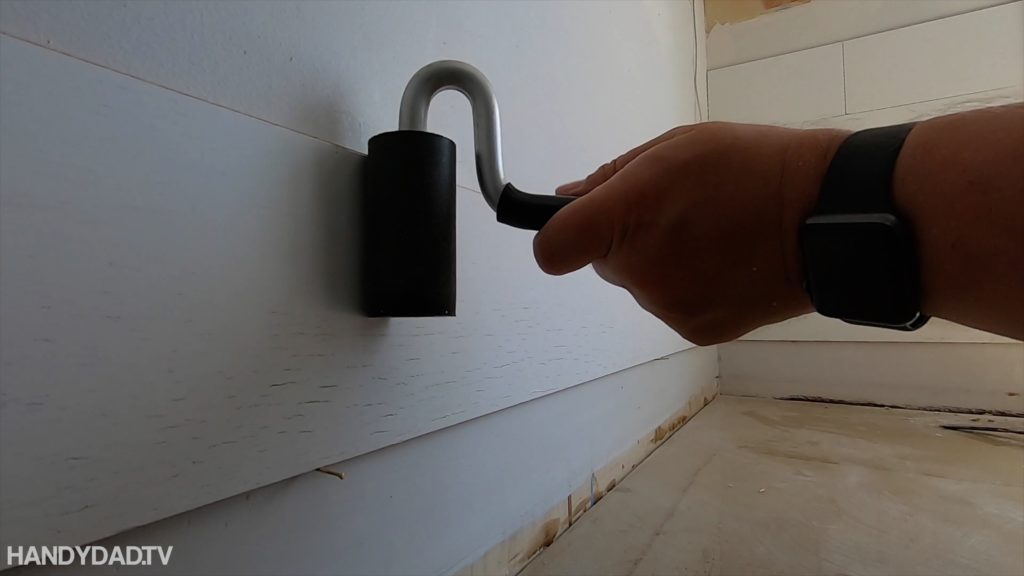
Although Wallplanks stick very easily without pushing hard, the directions say to bond them permanently to the wall with a J-roller.
Leave a comment below if you have any questions about Wallplanks or my installation. Thanks!

