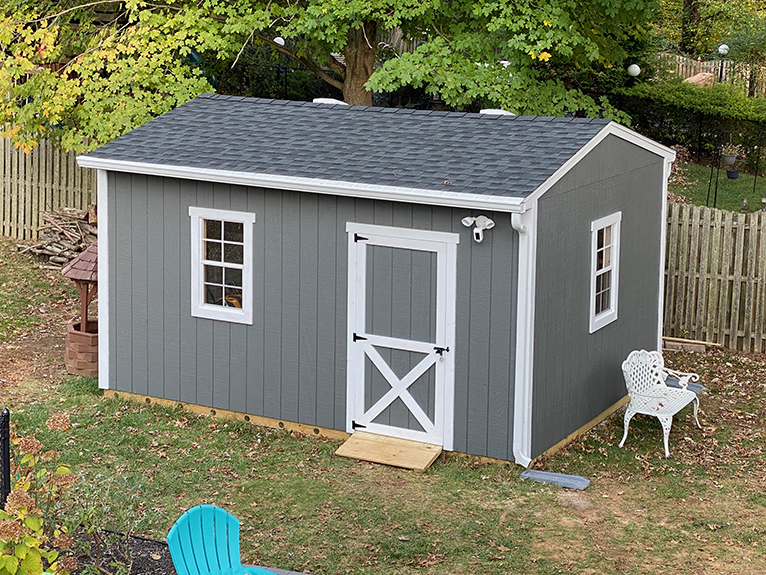
How to Build a Storage Shed with Lofts
Building your own shed is a fun and rewarding project for the whole family. Regardless of retail lumber prices, it will always be cheaper to build a custom shed than to buy one.
We built a shed in the summer of 2021, during the peak of lumber and plywood prices, because it was the last item on our punch list for our 50+ episode series called The Living Flip.
Look for the 🎥 icon to find links to 7 videos showing exactly how we built this shed.
If you'd like to build an exact copy of our shed, the blueprints are available in our store.
Choosing a Size
When it comes to sheds, bigger is better. You can never have too much storage space.
Our town, Freehold, NJ, has a limit of 200 square feet for storage sheds. Anything larger than that would be taxed as a garage and it would need formal building permits and inspections. We were also limited to a 10-foot height.

With those limitations in mind, I designed this shed to be 12×16, which is 192 square feet, and exactly 10-foot high.
Whatever size you build, I recommend you size it with multiples of 4 because sheet goods are 4 feet wide. Design it to use readily available materials and minimize waste. Home centers typically carry lumber between 8 and 16 feet. T1-11 siding is a popular, paint-ready vertical siding for sheds. It comes in 4×8 sheets.
Choosing a Location
Every building starts starts with a foundation. A reinforced concrete slab is undoubtedly the best foundation you can build for a shed, but it's also the most expensive option.
We used pressure treated 2×6 lumber over a stone base. We were fortunate to have a relatively flat area that didn't require significant leveling.
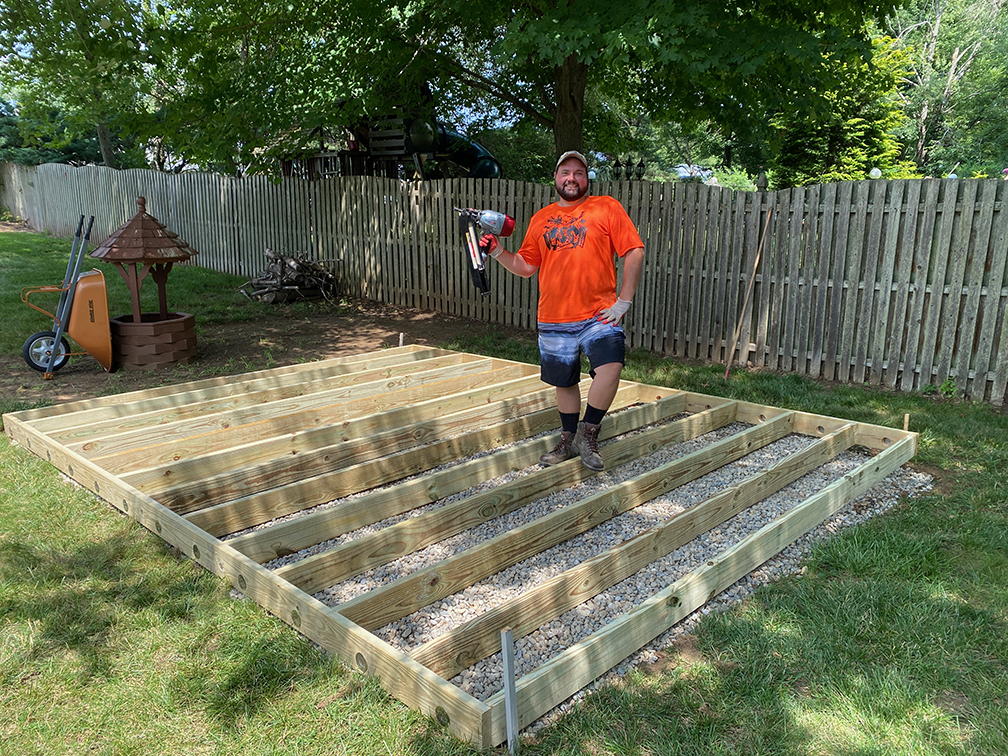
We built our foundation on a gravel base without securing it to the ground. We live in New Jersey and rarely have tornados, so we expect the weight of the shed plus contents will keep it in place without anchors.
🎥 Watch Part 1 to see how we built the foundation.
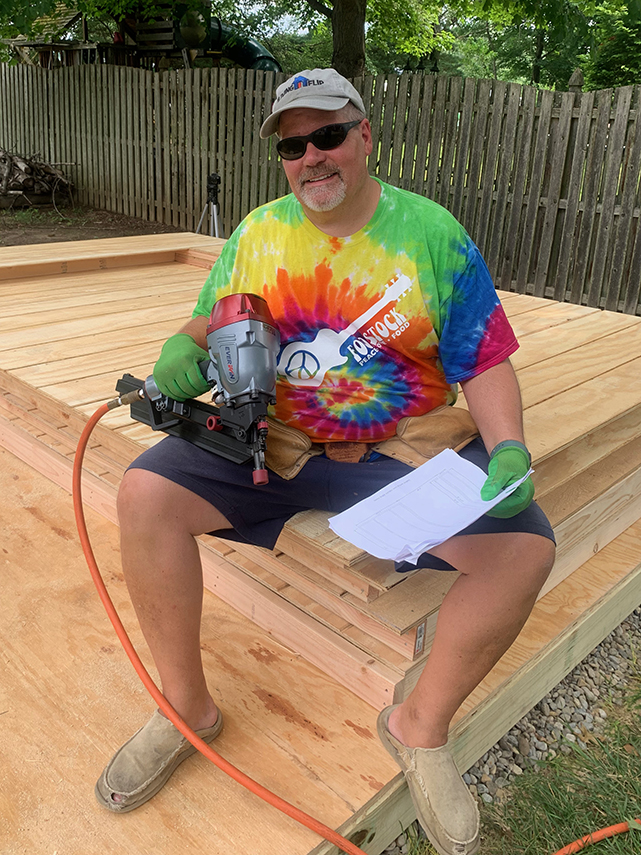
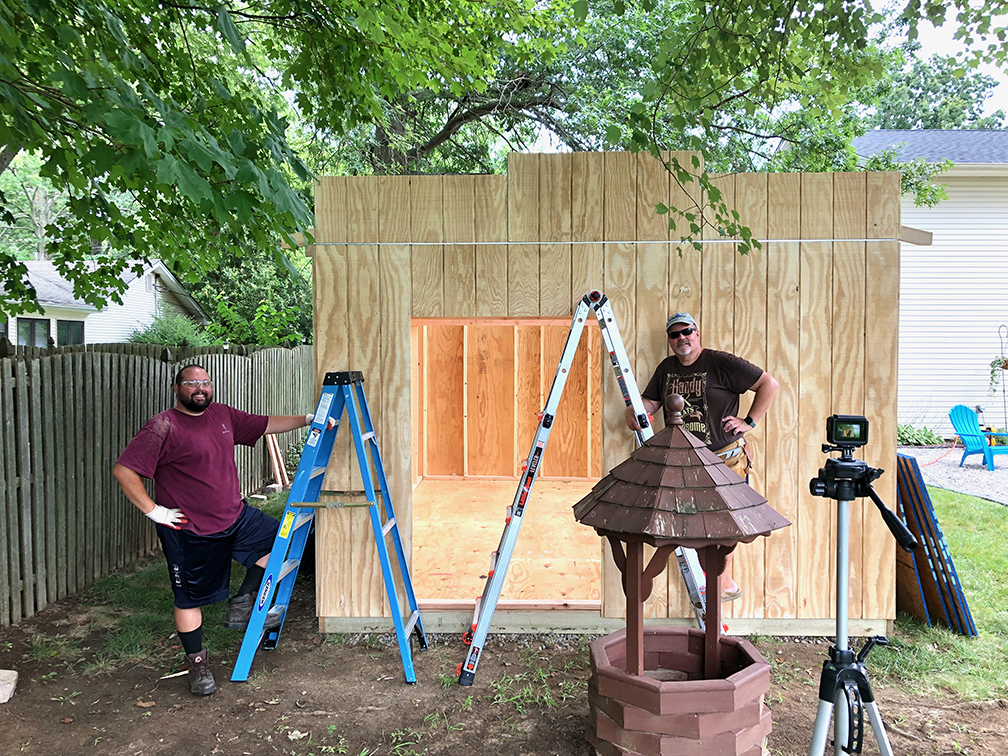
Pre-Assembly of the Kit
The common practice of building walls is to assemble them flat and stand them into place. You can build a wall and install it right away, or you can build them as a kit to assemble later.
It only takes two people to do the pre-assembly but you'll probably want a couple more hands to stand up the walls safely.
You can also choose to attach the siding as you build the walls, as we did. I think this is easier, however it significantly increases the weight of the walls when you stand them up.
🎥 Watch Part 2 to see how we pre-assembled the walls and rafters.
The alternative is to assemble the shed frame first, then add the siding later. I suppose there are pros and cons to ponder. Decisions, decisions.
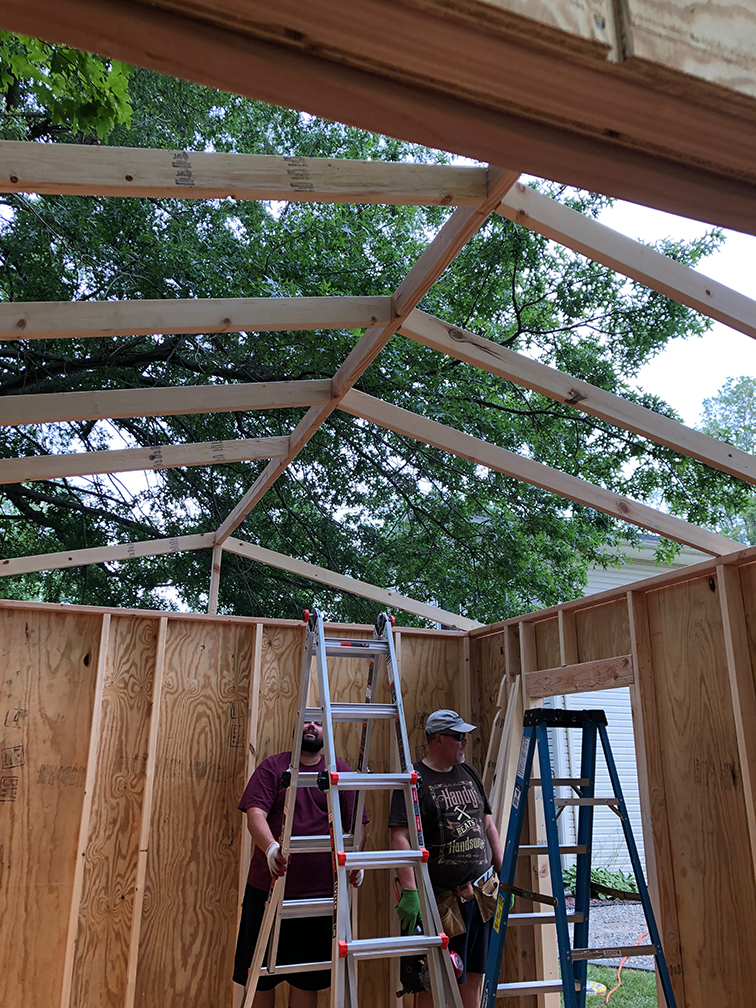
Assembly

Assembly day is a big deal. It's the day your plan becomes reality. And hopefully all the pieces fit together like a puzzle!
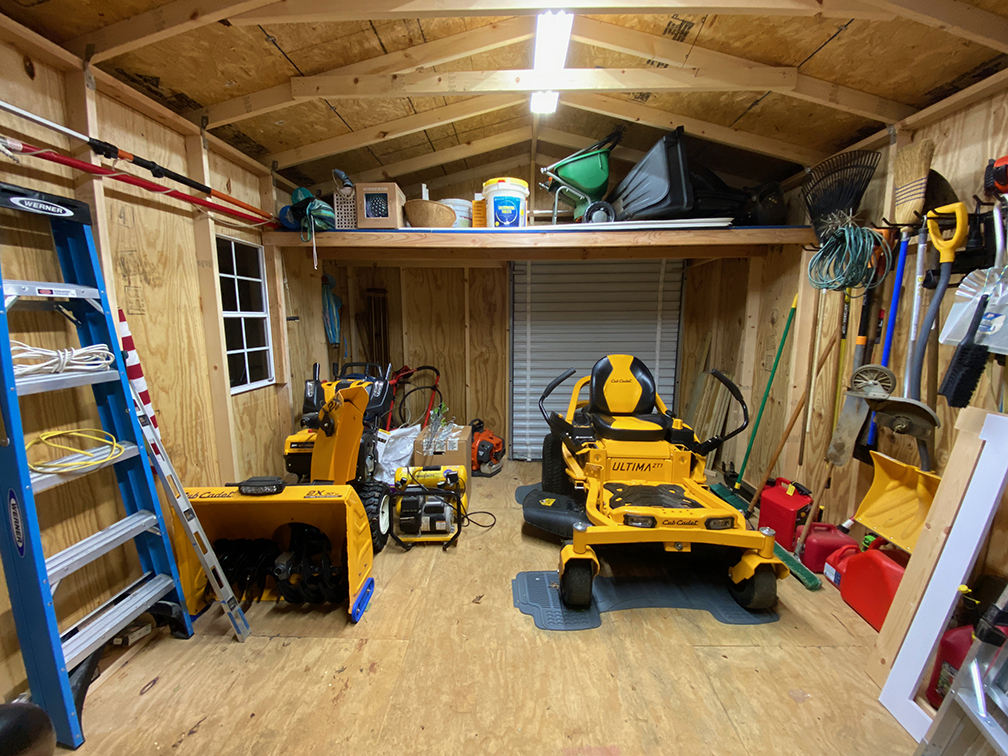
Once the shed takes shape, you can stand in it and experience the space.
🎥 Watch Part 3 to witness our assembly day.
But wait! You have more decisions to make. What type of roof do you want? Do you want soffits? Do you want trim? Do you want windows? How many? All these decisions affect the cost and complexity of the shed.
🎥 Watch Part 4 to see how we handled these decisions.
Roofing
The cost of lumber in 2021 had us seriously consider a metal roof. It would have been cheaper than asphalt, but asphalt is typical in New Jersey and it matched the house roof. Plus, and perhaps most important, I only had experience with asphalt roofing and didn't want to spend additional time on the project.
It's a good idea to vent your shed so it doesn't melt your bike tires in the summer heat. We installed two skylight roof vents that are translucent so they in light and air at the same time!
🎥 Watch Part 5 to see how we installed the roof.
Doors
Yet another decision. How will you get stuff into your shed? You'll need a door. Or two. Or… three?
We opted for two: a 36-inch “front” door and a 60-inch roll-up door for the lawn tractor.
Doors are challenging to build and install correctly. They sag. They stick. They warp. Big double doors are twice as hard. We avoided that challenge by installing a roll-up door, which is like a lightweight garage door typically found on storage units.
Our roll-up door was a Janus 650 that we ordered online. Just Google it and pick an online supplier with the best price. I think they all drop-ship directly from Janus anyway so I have no affinity to any retailer.

We paid $406 for the door and another $275 for crating and shipping (total $681). It might be worth it to rent a truck and pick it up yourself, if that's an option for you. It was certainly more expensive than building doors from scratch, but it makes this shed unique and we felt it was worth it. It's just cool.
🎥 Watch Part 6 to see how the roll-up door was installed.
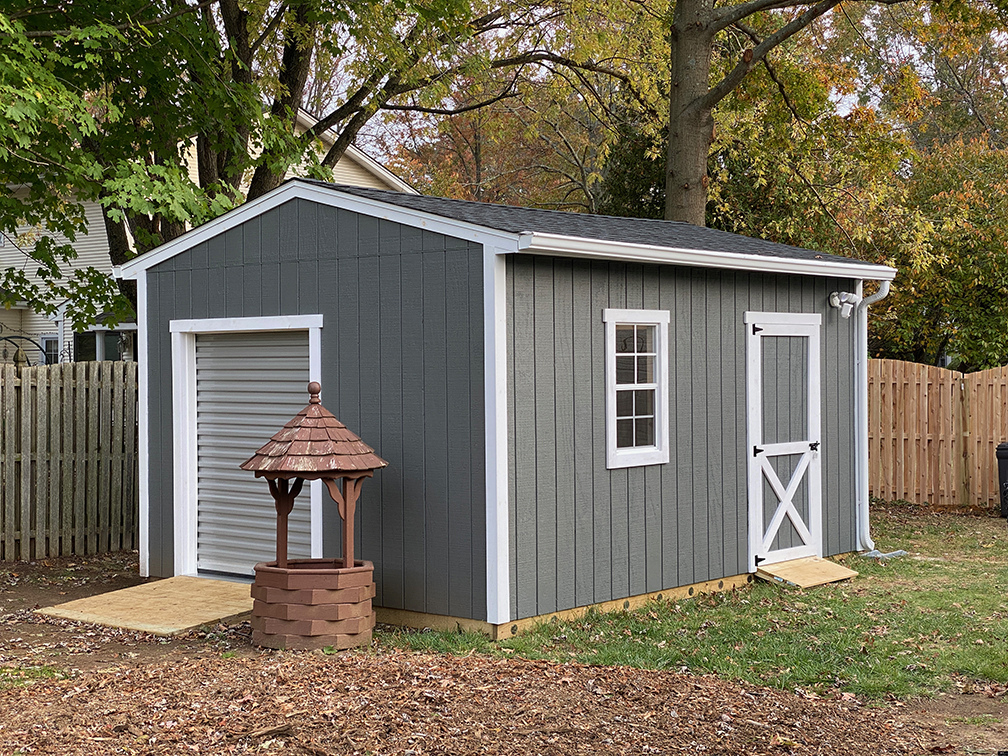
Finishing Touches
The final step was to build the front door, which I delayed as long as possible (refer to my previous statement about doors being challenging to build). We also built ramps and trenched an electric line to the shed so we could see at night and charge electric tools.
🎥 Watch Part 7 to see the walk-through of the finished shed.
Cost
We can't tell you exactly what this shed will cost to build today, but we spent around $5,000 for the materials in 2021 during the post-pandemic lumber peak and supply shortages. The blueprints include the exact list of materials purchased from Home Depot including prices at the time.
You can tweak the design to save money: remove the roll-up door, make it smaller, use a metal roof, etc.
If you'd like to build an exact copy of this shed, the blueprints are available for free.
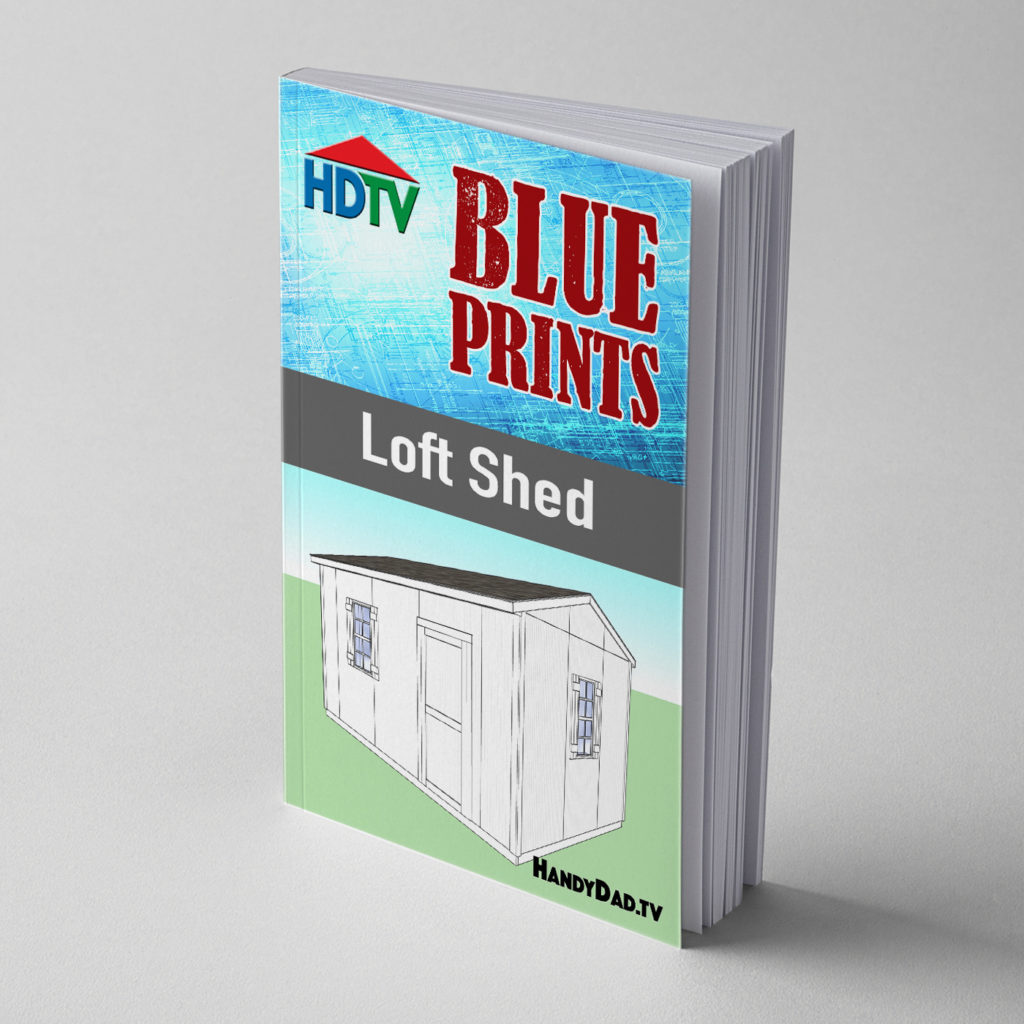
12×16 Loft Shed Blueprints
This product is available for free. See details below.


You said that the Blueprints are free, everything I checked, wanted money? Is it free or not?
The purchase will be refunded if you buy the materials from Home Depot using my referral link.
Well done! You did a great job on this project. As a suggestion since you have open venting in the base over the gravel, if you want to keep creepy crawlies and rodents away from the underside of your shed in a no maintenance all natural nontoxic manner, plant a garden around it using low growing spearmint, wintergreen, thyme and rosemary plants, which are all edible herbs and can be used in cooking, most of which are deer proof as well. You can also use these plants as a layer at the front of your garden areas close to the house along with garlic and onion plants (which are actually very pretty plants) to prevent underground pests such as gofers. A plant called gofer purge works as well, but I never found it to be an attractive plant.
That is an awesome idea! Thanks so much for the info.